New to canning? Start with one safe jar.
Canning looks scary because the warnings are real. The good news is that the beginner rules are simple. You do not need fancy gear, and you do not need a pantry full of jars. Start small, choose a tested high-acid recipe, and let the recipe tell you exactly what to do.
First, what makes canning safe (read this once)
Home canning is safe when the food, jar, acidity, method, and processing step all match a tested recipe. It is not safe when you make up your own process.
WATER-BATH canning is for high-acid foods only: jams, jellies, pickles, most fruit, and tomatoes with added acid. This is the beginner lane.
PRESSURE canning is required for low-acid foods: plain vegetables, beans, meat, poultry, seafood, and soup. Low-acid foods in a water bath can grow botulism. Do not do it.
The other safety rule is the tested-recipe rule. Use Bernardin or the USDA National Center for Home Food Preservation at nchfp.uga.edu, then follow the recipe exactly. Do not reduce the acid. Do not reduce the sugar or salt. Do not change the jar, method, or processing step unless the tested source says that change is safe.
This page is general guidance, not a tested recipe or professional advice. Botulism can be present with no smell, taste, or visible warning. That is why, when in doubt, you throw it out.
STEP ONE
Pick a tested high-acid recipe.
Before you buy gear or heat water, choose the recipe source. A tested recipe tells you the food, jar, headspace, method, and processing step that belong together. This guide teaches the shape of canning. It does not replace the recipe.
The one rule to remember
Canning is not cooking by feel. It is a tested process. You can make the food for supper however you like. If you want it to sit sealed on a shelf, the tested recipe is the rulebook. The acid, sugar, salt, jar, lid, method, and processing step are not decoration. They are the safety system.
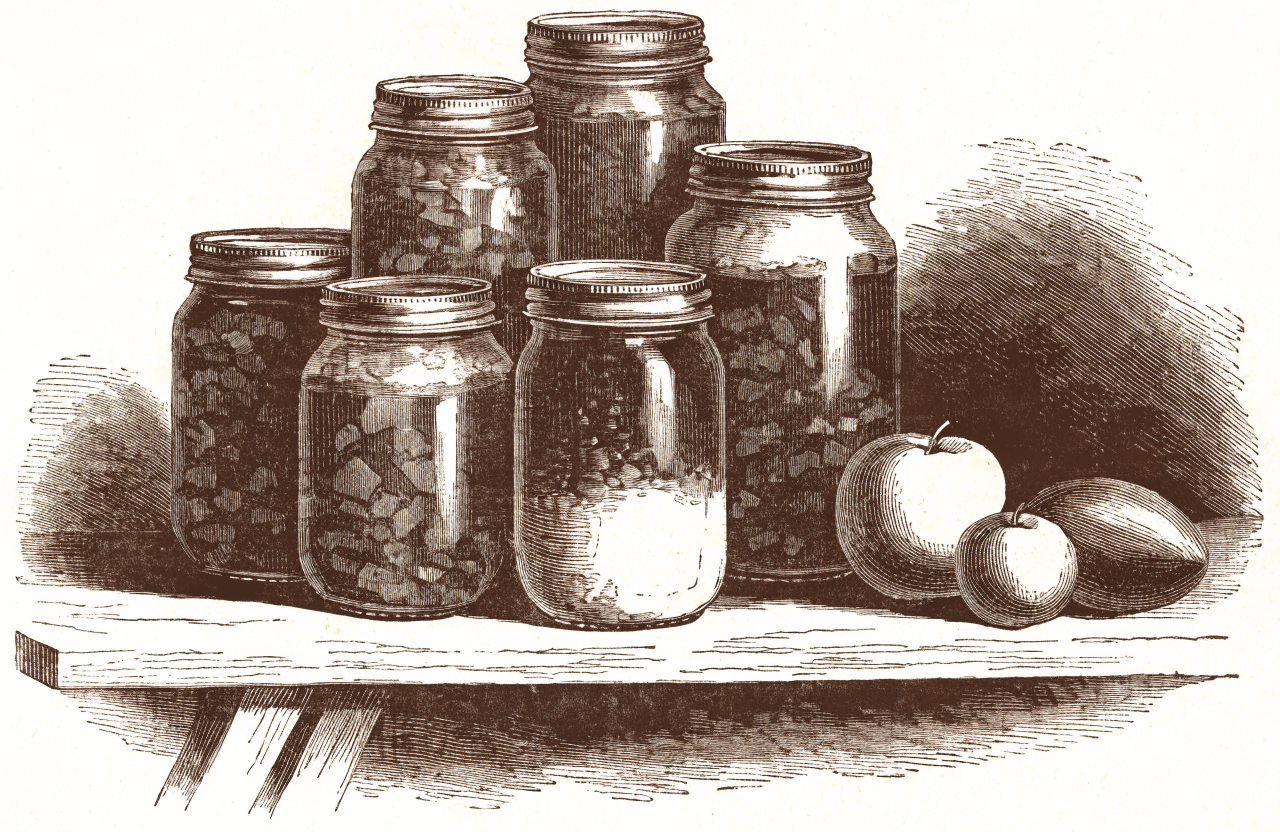
GOOD FIRST JARS
What you can safely start with
The safest beginner projects are tested high-acid recipes made in a water bath. Pick one that sounds plain and familiar. Save pressure canning for later, after you have read your canner manual and a tested low-acid recipe.
Jams and jellies
The classic first project. They teach clean rims, headspace, bubbles, lids, boiling, cooling, and seal checks without asking you to learn every canning method at once.
Pickles and relishes
Good for cucumber season and small batches. The safety comes from the tested brine, so follow the recipe exactly and do not weaken it.
Salsa from a tested canning recipe
Salsa is not a place to improvise. The balance of tomatoes, peppers, onions, and acid matters. Use Bernardin or NCHFP, not a fresh salsa recipe from a dinner site.
Applesauce
A steady fall project, good for learning how fruit changes as it heats and how to fill jars neatly. Use a tested canning version, not a casual stovetop version.
Peaches or pears
A good fruit project when they are in season. The tested recipe will tell you the preparation, packing method, jar, headspace, and process.
Tomatoes with added acid
Tomatoes need the acid step from a tested recipe. Plain tomatoes without added acid do not belong in the beginner water-bath lane.
Pressure canner required
Plain vegetables, green beans, corn, beans, meat, soup, and plain tomatoes without added acid are low-acid foods. They require a pressure canner, full stop. Never put low-acid food in a water bath and call it shelf-stable.
THE METHOD
The water-bath method, step by step
This is the order of the work for a tested high-acid recipe. It is not a recipe, and it does not give the processing time. Bernardin or NCHFP supplies that.
- Gather the gear. You need a deep pot with a rack or a dedicated water-bath canner, mason jars, new flat lids, reusable bands, a jar lifter, and a canning funnel.
- Read the recipe before anything heats. Confirm that the food is high-acid and that the method is water-bath canning. If the recipe calls for pressure canning, stop and use a pressure canner.
- Wash the jars and keep them hot. Hot food goes into hot jars. That helps avoid cracked glass and keeps the work moving cleanly.
- Prepare the food exactly as the recipe says. Do not change the acid, sugar, salt, jar size, packing style, or ingredient balance. Those details are part of the tested process.
- Fill the jars. Use the headspace the recipe states. Slide a clean nonmetal tool down the side to release trapped air bubbles, then adjust only as the recipe directs.
- Clean the rim. Wipe every rim before the lid goes on. A bit of syrup, brine, or pulp can keep a lid from sealing.
- Put on the lid and band. Use a new flat lid. Tighten the band only finger-tight, so air can escape during processing.
- Process only at a full rolling boil. Lower the jars into water that fully covers them, return the pot to a full rolling boil, then start timing. Follow the tested recipe time, and adjust it for altitude before you begin.
- Cool without fussing. Lift the jars out, set them where they can rest undisturbed, and do not press the lids while they cool.
- Check the seal. A sealed lid is pulled down and does not flex when pressed. Any jar that did not seal goes in the fridge and gets used soon.
- Label and store. Write the food and date on the jar. Keep sealed jars somewhere cool and dark, and use the storage guidance from the tested recipe source.
Altitude is part of the recipe
Higher elevations need an adjustment. Use the recipe source or the Canning Altitude Adjuster after you have the tested recipe in hand. The tool adjusts a tested recipe. It does not create one.
COMMON SNAGS
The mistakes that get beginners
Most first problems are ordinary. The fix is to slow down and let the recipe be boss.
- Reusing old flat lids. Use a new flat lid every time. Bands can be reused if they are clean and not bent or rusty.
- Too much or too little headspace. Use the headspace in the tested recipe. Headspace affects air removal, seal strength, and the process.
- Skipping the air-bubble step. Trapped air changes the final fill level and can interfere with a good seal. Release bubbles the way the recipe directs.
- A dirty rim. Food on the rim can break the seal. Wipe the rim before every lid.
- Starting the timer too early. The timer starts when the pot is back at a full rolling boil, not when the jars first go in.
- Ignoring altitude. A recipe process may need adjustment for where you live. Check before the jars are in the pot.
- Changing a tested recipe. Do not reduce acid, sugar, or salt. Do not change the jar, method, or processing step. A tasty sauce is not automatically a safe shelf-stable sauce.
- Water-bathing a low-acid food. Plain vegetables, beans, meat, and soup require a pressure canner. A water bath is not enough for those foods.
THE HOME YEAR
Your year in canning
Canning belongs to the seasons. What is ready shifts with your climate, your market, and your garden, but the rhythm is steady enough to plan around.
Spring
Rhubarb shows up first in many northern gardens. Asparagus can be pickled from a tested recipe. It is a good season for small, careful batches.
Early summer
Strawberries and cherries are jam season for many places. This is where a lot of people learn the feel of hot jars, clean rims, and patient cooling.
High summer
Cucumbers bring pickles and relishes. Tomatoes arrive, but they still need a tested canning recipe and the acid step it gives. Peaches are a good fruit project when they are at their peak.
Fall
Apples and pears carry the season. Applesauce is calm, useful, and worth repeating once you have a tested recipe you trust.
Use the calendar as a nudge, not a command. A good canning day is when the food is in season, the recipe is tested, and you have enough time to work without rushing.
TROUBLESHOOTING
When something seems off
Do not argue with a jar. If it looks wrong, seals wrong, smells wrong, or makes you uneasy, choose safety.
- An unsealed jar is not shelf-stable. Put it in the fridge and use it soon, or follow the tested source for safe next steps.
- A bulging lid is a discard. Do not taste it to check.
- Leaking or spurting liquid is a discard. Throw it out safely.
- An off or yeasty smell is a discard. Do not taste it.
- Mold is a discard. Scraping the top does not make a shelf-stable jar safe.
The hard part
Botulism can hide with no sign at all. That is why the real safety check happens before the jar goes on the shelf: tested recipe, correct method, correct altitude adjustment, clean seal, and no improvising. When in doubt, throw it out.
TESTED SOURCES
Where to get tested recipes
Use Bernardin in Canada or the USDA National Center for Home Food Preservation at nchfp.uga.edu for tested recipes and method guidance. Bring the tested recipe to the stove, then use the altitude tool only to adjust what the recipe already gives you.
Questions, answered plainly
Is canning dangerous?
It can be dangerous if you improvise. The main risk is botulism, which can be present with no smell, taste, or visible warning. The safe path is to use a current tested recipe from Bernardin or the USDA National Center for Home Food Preservation, choose the method the recipe requires, and follow it exactly.
Can I use any recipe?
No. Use a tested canning recipe from Bernardin or the USDA National Center for Home Food Preservation. Do not use a regular cooking recipe for shelf-stable canning, and do not change the acid, salt, sugar, jar size, method, or processing step unless the tested recipe source says that change is safe.
Do I need a pressure canner?
You need a pressure canner for low-acid foods such as plain vegetables, beans, meat, poultry, seafood, and soup. Those foods must be pressure-canned. Beginners can start without a pressure canner by choosing a tested high-acid water-bath recipe.
Why does altitude matter?
Water boils differently as elevation changes, so a tested recipe may need an altitude adjustment. Start with the tested recipe, then use the Canning Altitude Adjuster on this site or the recipe source to make the required adjustment for your place.
Can I reuse canning lids?
Reuse the bands if they are clean and sound, but use a new flat lid for every shelf-stable jar. A used flat lid may not seal correctly.
What if a lid does not seal?
Do not put that jar on the shelf. Move it to the fridge and use it soon, or follow the tested recipe source for safe next steps. Never treat an unsealed jar like a sealed jar.
Start small and stay exact
Your first canning day does not need to fill a pantry. One tested high-acid recipe, one calm batch, one clean seal, and no improvising is the right beginning.
This page is general guidance, not a tested recipe or professional advice. Use Bernardin or the USDA National Center for Home Food Preservation for the actual recipe, quantities, jar details, and processing directions.